For a first Japan trip, it is usually better to choose a few places you can enjoy properly instead of trying to see the whole country. Tokyo, Kyoto and Osaka make an easy first route because the train connections are straightforward and each city offers a very different experience.
Tokyo is the capital and a natural arrival point, with modern districts, food, shopping and day trip options.
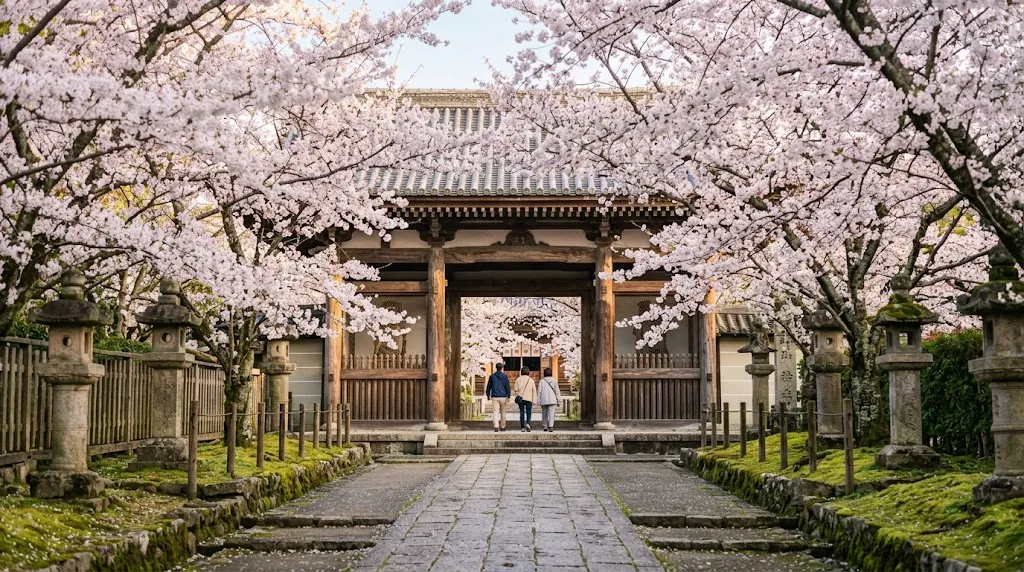
Kyoto is known for temples, gardens and traditional streets.
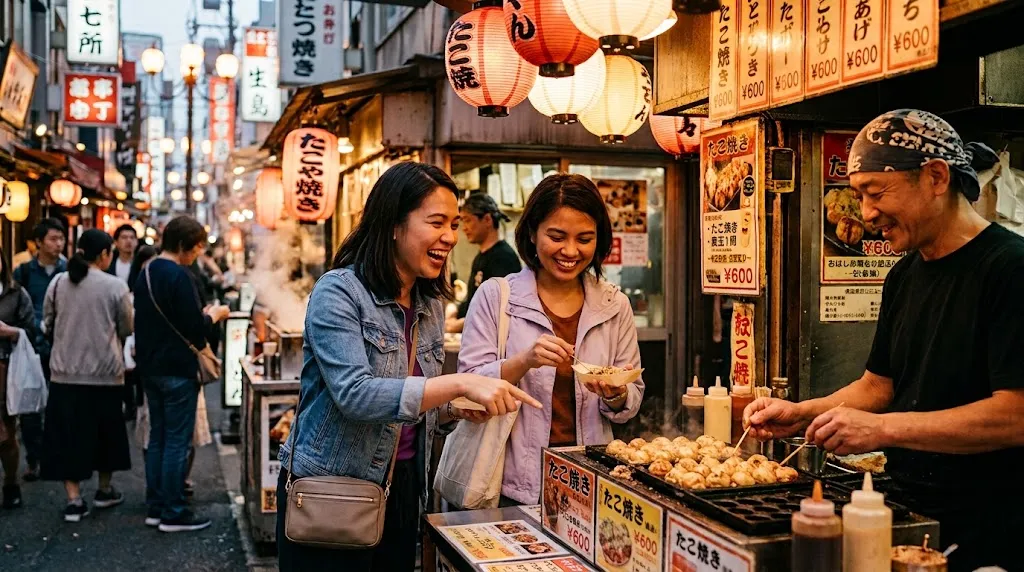
Osaka is known for street food and nightlife, and it is an easy base for Kyoto and Nara.
Nara is a short trip from Kyoto and Osaka and is known for its deer park and historic temples.
Add a regional extension only when you have the days for it. Hokkaido suits cooler summers and snow trips, while Hiroshima and nearby Miyajima add history and coastal scenery. Fukuoka works well if you want a relaxed southern base with a strong food scene. Travelling solo or during a school break? Use the linked guides to shape the trip around your situation.
The cities you choose set the rhythm of the entire trip. A simple planning order will keep the route enjoyable and the paperwork coherent.
How should a first-time traveller structure the plan?
Start with the decisions that affect every other booking. This order keeps your first Japan itinerary realistic and easier to support with a clear visa plan.
Planning step
| What to decide
| Why it matters
|
|---|
Season
| Choose the season and experiences that matter most.
| Decide what you pack, what you can see and when demand rises.
|
Length
| Set the number of days you can realistically take.
| Keeps the pace manageable and gives the visa plan a clear travel window.
|
Bases
| Pick the smallest number of cities that fits your interests.
| Fewer hotel moves mean more time to enjoy each place.
|
Anchors
| Choose one or two experiences each day that you would be disappointed to miss.
| Protect your priorities without filling every hour of the itinerary.
|
Buffers
| Leave time for weather, queues, delays and tired feet.
| Makes the trip more flexible when plans change.
|
Disclaimer: This table is a planning guide, not a visa checklist. Visa requirements, processing times and entry procedures can change, so follow the latest official Embassy guidance before you apply.
This approach prevents the common mistake of building a long sightseeing list before checking travel time. It also gives you a clear, realistic itinerary to support your visa application.
With the route taking shape, decide how many days you can give each base before adding another stop.
What do realistic trip lengths look like?
There is no single perfect trip length. The best option is one that leaves enough time to settle into each base instead of treating every day like a transfer day.
Five days. Stay in Tokyo and add a one-day trip. Five days is tight for two cities.
Seven days. Spend three nights in Tokyo, travel to Kyoto for three nights and add Nara or Osaka as a half day. This is the classic first trip.
Ten days. Add a third base such as Osaka, or one regional extension, without rushing.
Two weeks or more. Cover several regions at a slower pace. Our 2-week Japan itinerary gives a day by day version.
Every extra city means another hotel check-out, train journey and packing session. For most first-timers, fewer bases and longer stays make Japan feel more enjoyable.
Once you know your pace and bases, you can choose the transport mix that makes the route work.
How do you get around Japan?
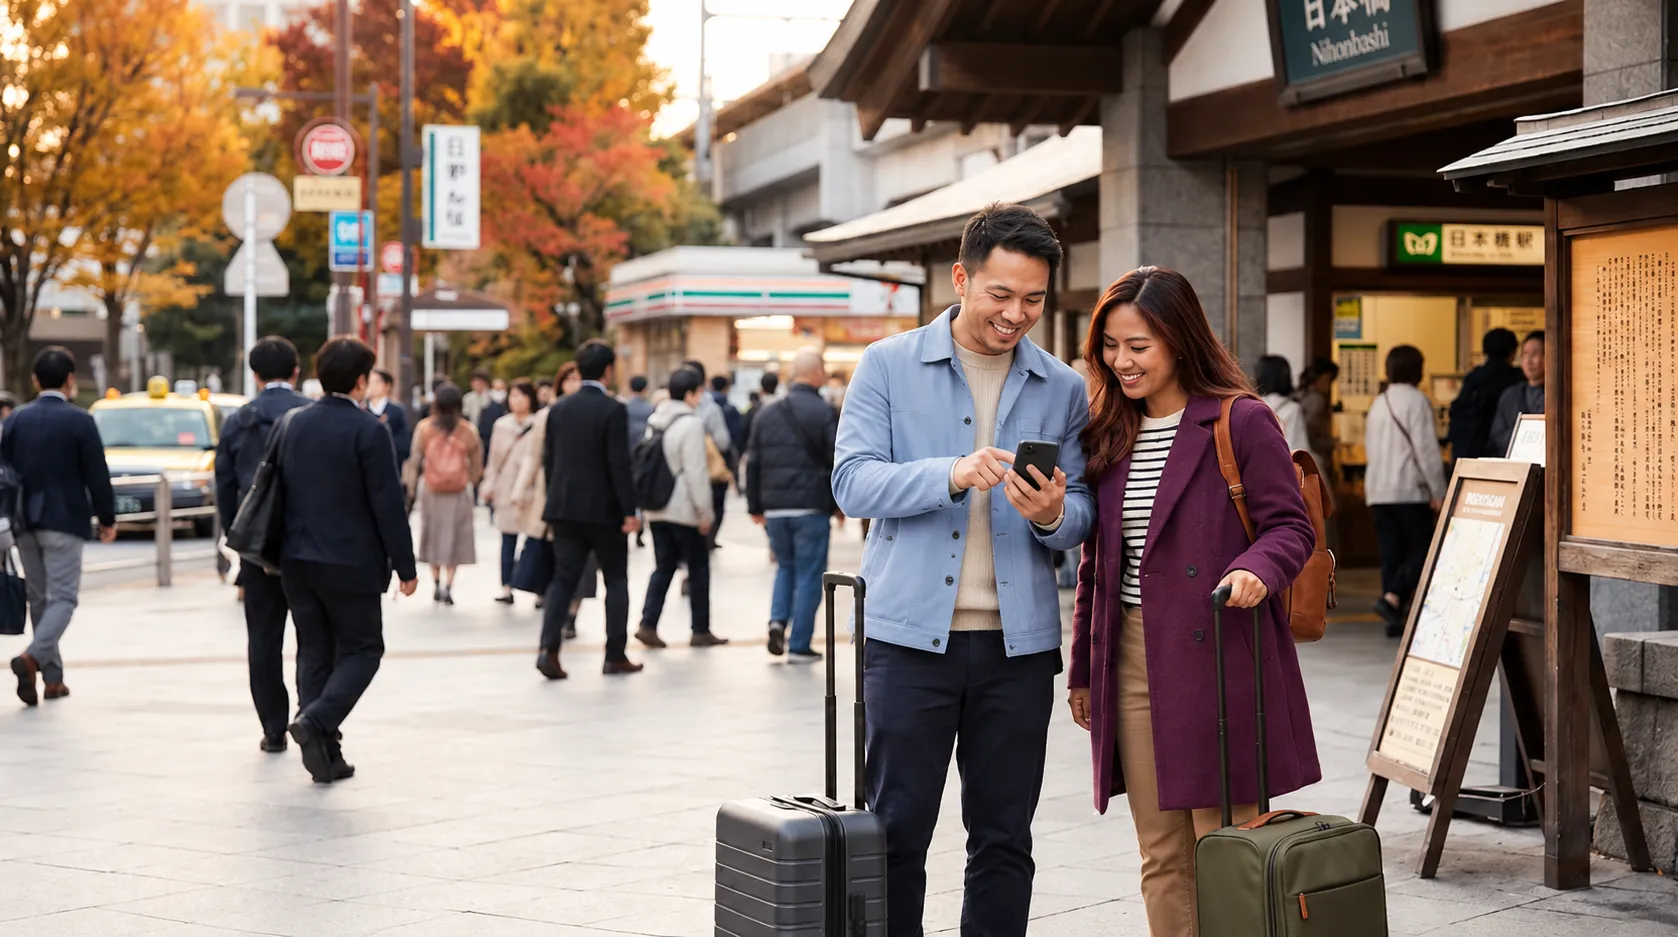
Japan is easy to navigate once you decide how you will move between cities. The rail network connects major destinations, while subways and buses handle most local journeys. Between Tokyo and Kyoto or Osaka, the bullet train is often the simplest choice. In cities, a reloadable transport card or phone wallet makes short rides much easier.
A rail pass is not automatically the best-value option. Compare the pass with the individual tickets for your actual route before you buy.
Check train times and platforms with a journey-planning app on the day, especially in busy seasons. If you are carrying large luggage, ask whether your hotel offers luggage forwarding between cities. It can make a transfer day much more comfortable.
Your transport choices shape the cost of the trip, so price the itinerary category by category before you lock anything in.
How much does a trip to Japan cost?
Japan can suit a range of budgets, but the total changes quickly with your travel dates, hotel style, route and eating habits. Rather than relying on one headline figure, build your budget from the costs you can control.
Return flights from the Philippines
Accommodation for each night
Domestic transport, including trains and airport transfers
Food and drink
Attractions and activities
Shopping and souvenirs
Travel insurance and any visa related costs
Flights and hotel prices tend to rise during cherry blossom season and year-end holidays, so the earlier you decide on fixed dates, the more choices you usually have.
With the major costs mapped out, decide how you will pay each item without relying on a single card or carrying too much cash.
How should you handle cash, cards and payments?
Bring more than one way to pay. Cards and mobile payments are widely used, but smaller shops, family-run restaurants and some local transport options may still prefer cash. Withdraw or exchange a moderate amount, keep it in more than one place and top up as needed instead of carrying your entire budget at once.
Before you fly, check your card's foreign transaction fees, set a daily spending limit and keep a small emergency cash reserve separate from your wallet. Payment options and fees can change, so confirm them close to your travel date.
How do you stay connected?
Your phone will be your map, train planner, translator and ticket wallet in Japan, so sort your connection before you fly. Roaming from a Philippine provider, a travel eSIM, a local SIM and pocket Wi-Fi rental can all work. The best choice depends on your trip length, the number of devices you are carrying and whether you need to share data with other travellers.
If a travel eSIM sounds like the easiest fit, read our best eSIM options for Asia travel guide before you buy. It covers the setup questions and common mistakes worth checking before you leave.
Download offline maps, save your hotel address in Japanese and bring a power bank for long sightseeing days. Those small preparations make it much easier to stay oriented when you are tired, in transit or without a signal.
With your phone, maps and bookings organised, you can pack for the weather and pace you have chosen.
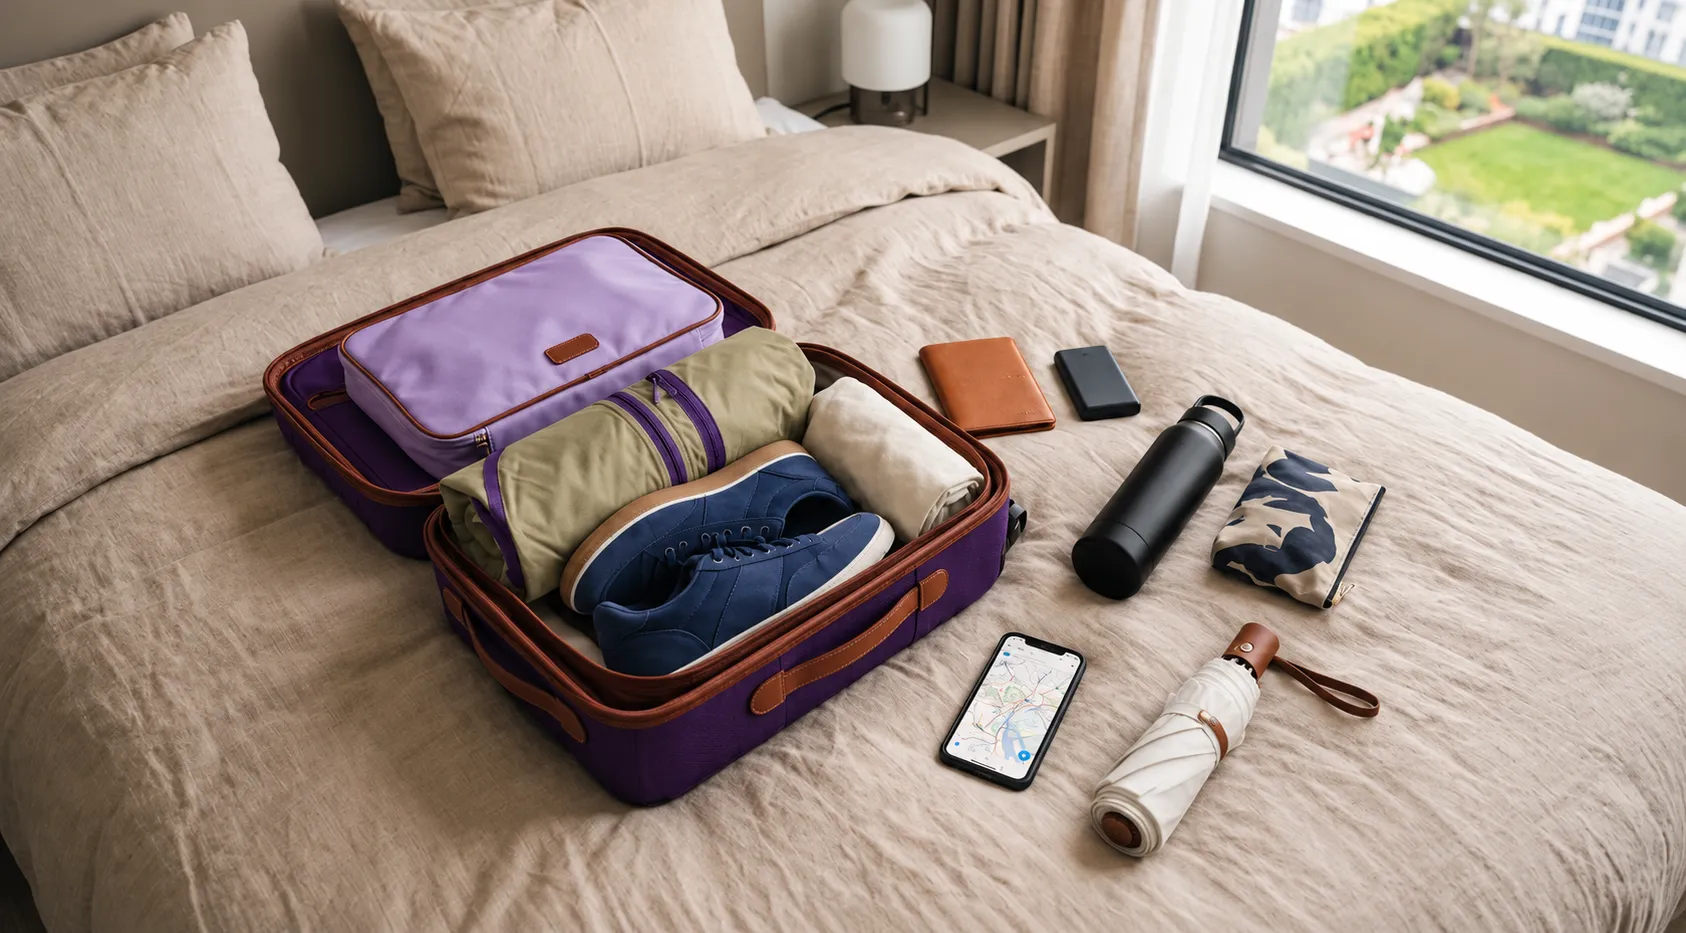
What should you pack for Japan?